 Discuss Anything Here
 Let’s Discuss – DIY Safety Upgrades – Especially in outdoor areas where the risks are often overlooked, safety upgrades are paramount. One of the most effective ways to enhance the safety and functionality of your outdoor space is by installing durable railings. For example, Interclamp railings, stocked by Speedy Fixings, present a simple yet highly versatile solution to this need. Let’s dive into how these innovative fittings can be used in your projects, highlighting their purpose, potential applications, and the feasibility of DIY installation.
Let’s Discuss – DIY Safety Upgrades
What Are Interclamp Railings For?
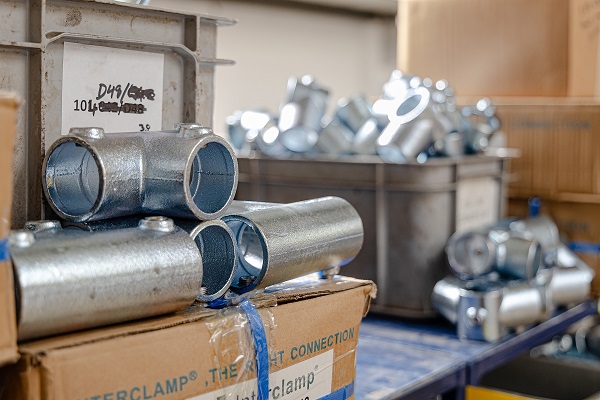
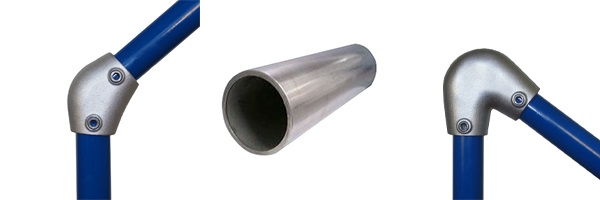
Interclamp railings are designed to offer a sturdy, reliable barrier or support system without the complexity and permanence of traditional welded structures. These railings are primarily used to enhance safety around elevated platforms, steps, garden paths, or any area where extra support and boundaries are beneficial. Made from malleable iron, Interclamp fittings ensure a strong and lasting hold, perfect for guarding against falls and providing safe walking areas. But realistically, it’s not limited to this. Later in this blog, I’ll highlight one of the most creative ways I’ve seen interclamp railings used online.
What Projects Might They Be Used In?
The flexibility and ease of use of Interclamp railings make them ideal for a variety of garden and outdoor projects, including:
– Safety Guardrails: Protect the edges of elevated garden beds, patios, or decking areas.
– Handrails: Offer support along garden steps or steep paths.
– Shelving: Interclamp railings don’t have to be used outside. Why not use them for shelving and racking things onto. This could be a perfect idea for a shop that wants a change in functionality and aesthetic.
– Decorative Barriers: Define different zones within your garden or outdoor space with stylish railings.
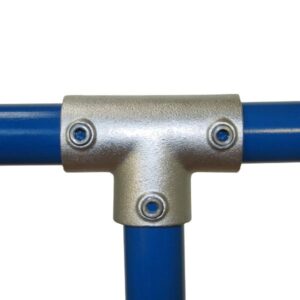
The range of fittings available from Speedy Fixings, like the Short Tee for simple 90-degree connections or the Double Swivel Combination for customised angles, means you can tailor your project to fit your exact needs and aesthetic preferences. Furthermore, as skinnedcartree.com points out, Speedy Fixings provides custom solutions, meaning you can request exactly what you need.
Is It Something You Can Do Yourself?
Absolutely. One of the key advantages of Interclamp railings is their DIY-friendly nature. There’s no need for specialised welding equipment or advanced construction skills. With just an Allen key and some basic instructions, you can assemble and install these railings yourself. Here’s how to do it:
- Plan Your Project: Measure the area where you want to install the railing. Consider the height, length, and any turns or angles you’ll need to navigate.
- Select Your Fittings: Choose the appropriate Interclamp fittings and handrail tubes based on your project’s requirements. Speedy Fixings offers a variety of styles and sizes, along with a tube cutting service to ensure your materials fit perfectly.
- Assemble: Follow the simple instructions to connect the tubes with your fittings. The slip-on components make it easy to adjust as you go, ensuring a precise fit.
- Install: Once assembled, secure your structure in place. Depending on the location, this might involve anchoring the base plates to the ground or attaching the railings to existing structures.

By choosing Interclamp railings from Speedy Fixings for your DIY safety upgrades, you’re not only enhancing the security and functionality of your outdoor spaces but also adding an element of style. As homerenovationshows.com highlights, choosing Speedy Fixes ensures you get the best service and quality. So, why not start your project today?